
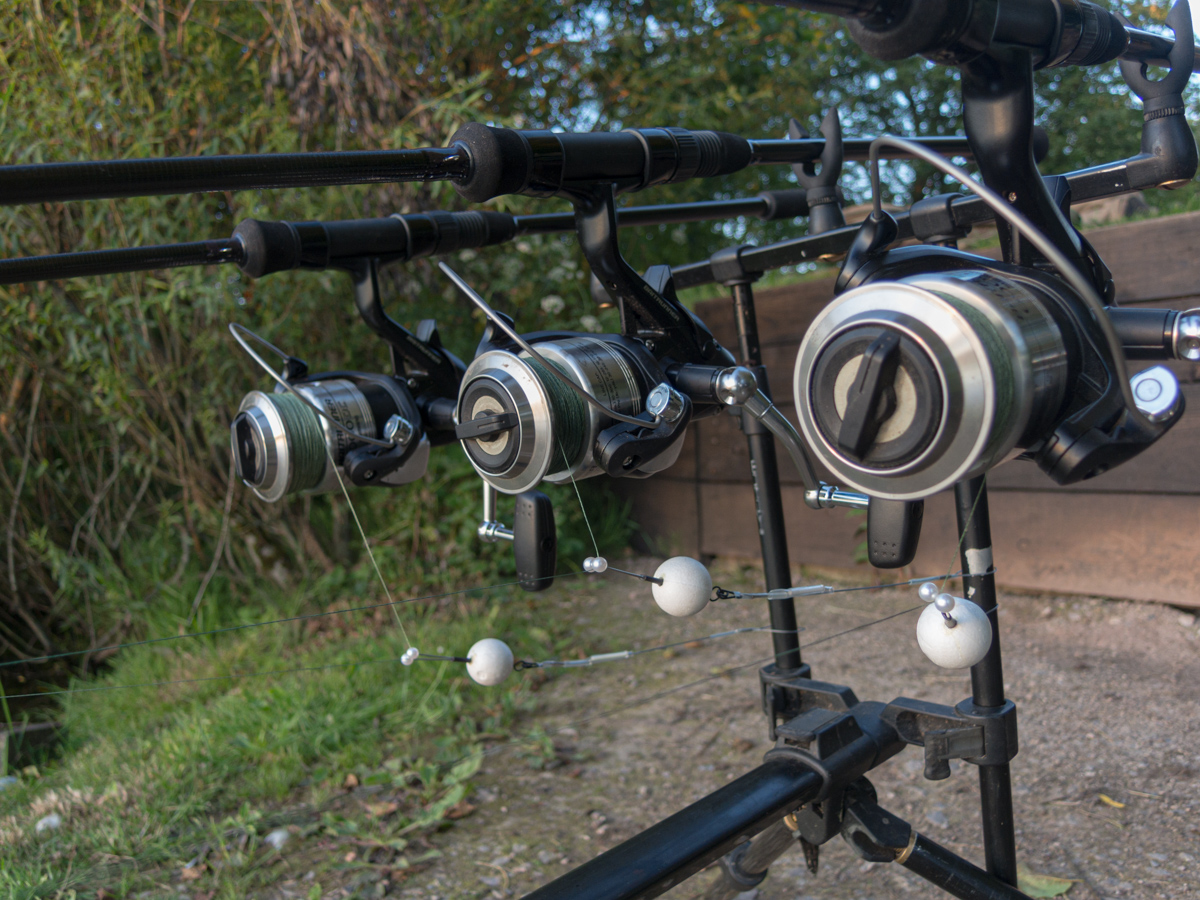
Over the last dozen or so years of my intermittent eel fishing I've tried all sorts of bite indication set-ups (apart from float fishing). I started out fishing open bale arms using light weight rear drop-offs with the Gardner clips I use for pike fishing. Then I tried the same bobbins at the front on a long drop and baitrunner engaged just in case.


Next it was short drops and heavier bobbins sometimes even straight off the 'runner with no bobbin. All worked to a degree, all failed to a degree. I know that the 'Rollover' indicator is supposed to be as resistance free as you can get. But have you seen one, let alone tried to set three of them up on a rod pod? I was given one and can't fathom out how the bloody thing works - even after watching a video! Another over complicated angling solution.
One evening when the eels were taking a couple of 'clocks' off the baitrunner I had a flashback. Way, way back my eel bobbins were a short length of balsa dowel with a hair grip glued in one end and a screw eye in the other. On the ends of the hair grip prongs were glued plastic beads. They'd started life being used off the front rests as old school bobbins for tench after I got fed up of Fairy Liquid bottle tops! I couldn't remember having dropped runs using those. I'd actually found them a few weeks previously.

I reckoned they worked because they were lightweight and that meant the clips didn't have to be set very tight to prevent the bobbins falling off the line. This has always been how I like my drop-off bobbins. The trend in pike fishing for heavy bobbins to show slack line takes results in the clips having to be tight, offering more resistance on the more common run. Drop-back indications have never been much of a feature of my piking, and even less of my eel fishing. If you use cord to attach the bobbin to the rear rod rest you can see a slack liner even with a light bobbin. That's another story though.
I was sure I could make a more modern version of this indicator if I could find the right components. The clips would be the hardest part. Map pins are too short. What about hat pins? They proved elusive with beaded heads, but a bit more internet searching turned up something similar. Florists pins.
How to turn them into a clip was the next, easily solved, problem. Initially I thought of simply pushing them into a polyball or similar. A bit crude. My old friend glue-lined shrink tube came to the rescue. Put two pins in a bit of tube, grip the ends in a pair of pliers and blast the tube with a heat gun. I did some dry tests to determine how much of the pins should protrude from the shrink tube before getting the heat gun out.

The MK1 bobbin was hastily assembled from a polyball and a swivel which was also heat-shrunk onto the pins. This was just to use as a proof of concept.

It worked a treat first time out. I had a take on one of the other rods that was dropped. It was a quiet night and that was the first take. I swapped the bobbins over and when the same bait was taken again the bobbin softly fell from the line and a 'proper' run progressed. The eel was hooked, landed, weighed and returned. Success!
Now to neaten the bobbin up. Quite simple. Chop a clip down with a pair of side cutters, glue the clip into a polyball with a swivel opposite and iMK2 was ready for action.

White polyballs show up surprisingly well after dark but I thought an isotope would be easier to see. Clear shrink tube came in handy for this. I shrunk the isotope onto the nylon coated wire I was using as a 'cord'.

The MK2 bobbin plus isotope worked a treat. Even with the alarms switched off a falling isotope catches the eye. They looked a bit unrefined though. Not that it bothered me. I still thought I could improve things.
More searching on-line and acrylic tube was discovered. Marvelous. A 150mm piece of 4mm inside diameter tube was cut into three equal lengths. A swivel had one eye squashed and covered in the magic glue-filled shrink and then glued into one end of the short tube. A cut down clip would go in the other end. That would look a bit unsightly so to cover the eyesores I wrapped some reflective tape around each end of the tube. To stop the isotope rattling about - and to centre it - I poked a piece of foam into the tube. A dab of hot-melt glue secured the clip in place and the MK3 bobbin was ready for action.

You might ask why I didn't just use the old bobbins in the first pics on this page. The answer is that light as they are, they're not as light as the ones I've made. Simple as that. For the time being I have 80lb Kevlar braid attached as the cord until I find something better. In practice it works as well as the originals. Despite appearances the clips can be adjusted. Pulling the beads apart slackens them, twisting them around each other tightens them. The aim is to have them as slack as possible. Using 50lb PowerPro on the reels I'm finding them to work great. The line release is 'soft' for want of a better description, and I'm getting far more actual runs than the other indication methods gave me. So far!
That's the story of one of my eel fishing improvements this season. Stay tuned for a couple more! You'll have to wait a bit longer to see if I've actually caught anything....